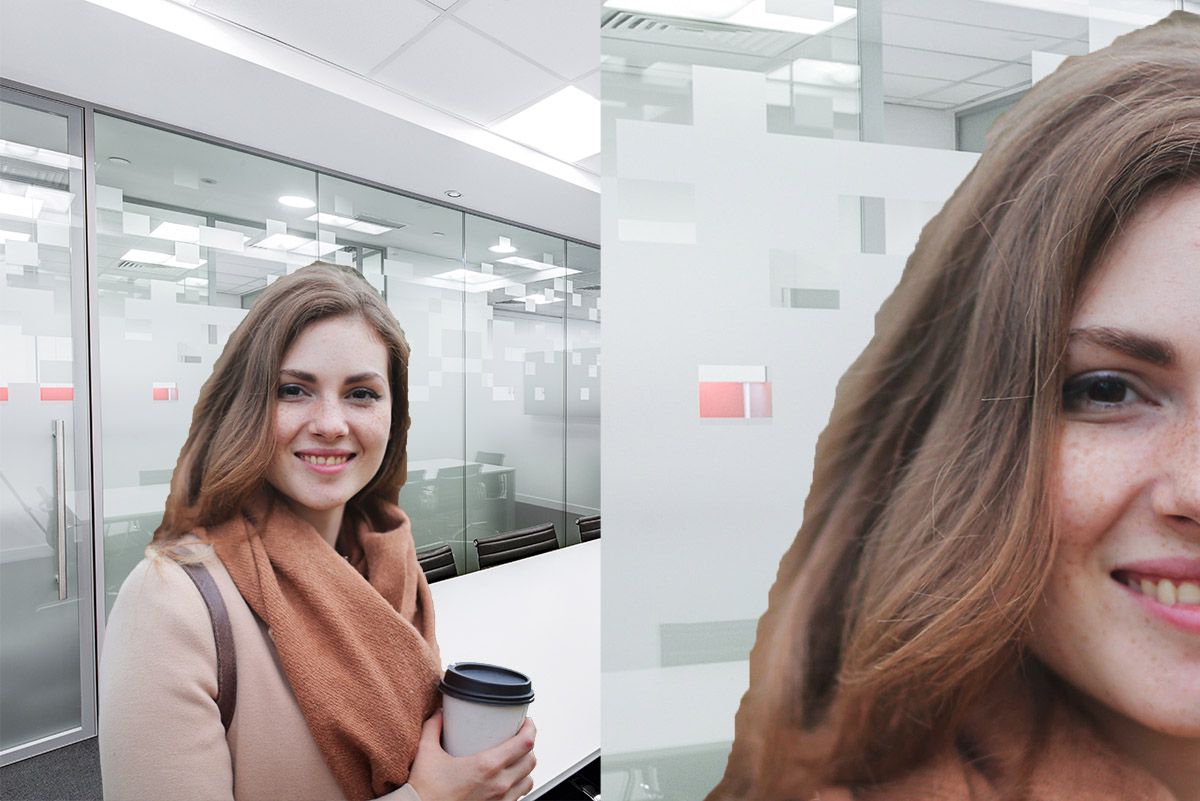
Luminar AI is designed to help you create creative portraits in very little time. The best part is, you don’t need a lot of photo editing knowledge to use the software.
In this tutorial, we will show you how you can change an existing, fully-edited portrait using Luminar AI as a plugin for Photoshop. But don’t worry if you don’t have Photoshop. Luminar AI works as a standalone program without the need for any other photo editing software.
Adding a Stylistic Touch to a Previously Finished Portrait
There will be times when you’ll want to revisit and edit old photos or do something more creative with the ones you’re working on now. Luminar AI is a great choice to add a stylistic touch to a photo that’s already been edited but is missing something extra.
In the following example, we add a Luminar AI Template, called Glow, to make our initial edit. Then, we will go to the Edit menus and make numerous (but simple) adjustments using the sliders and controls.
If you’d like to follow along with the same image we’re using, you may download it from Unsplash. Feel free to use your own images as well.
Let’s get started!
- In Photoshop, create a duplicate layer by clicking Ctrl + J. If you don’t use Photoshop, skip the first three steps and simply load the image into Luminar AI. You can continue along with us on step four.
- Convert the layer to a Smart Object by right-clicking on the Layer 1 copy. Then, select Convert to Smart Object.
- Go to Filter > Skylum Software > Luminar AI.
- In the Templates menu, select Experimental Collection. Then, select Glow from the menu options.
- Click on Edit (next to Templates) at the top. Make sure Essentials is highlighted, which is represented by the sunshine icon.
- Make these slider adjustment values for each submenu item: Enhance AI > Accent AI: 38.
- Then, select Vignette > Amount: -70 > Size: 35 > Advanced Settings > Roundness: -29 > Feather: 33 > Inner Light: 7.
- Select Creative from the right menu bar, as represented by the paint palette icon. After selecting Atmosphere AI, select Haze from the dropdown menu. From here, choose Amount: 100 > Depth: 100 > Lightness: 82.
- Select Sunrays. Then, click Place Sun Center. Using your mouse, move the white dot above the subject’s head so that half of it is visible at the top of the screen.
- Continue making adjustments in Creative, and enter these values: Amount: 72 > Overall Look: 71 > Sunrays Length: 50 > Penetration: 40.
- Under Sun Settings, select Sun Radius: 40 > Sun Glow Radius: 70 > Sun Glow Amount: 60.
- In Rays Settings, select Number of Rays: 87 > Warmth > Sun Warmth: 77 > Sunrays Warmth: 82.
- Choose Mystical, then select Amount: 43 > Shadows: 34> Smoothness: 31.
- Under Glow, choose Soft Focus > Glow Amount: 33. In Advanced Settings, select Contrast: 15.
- Select Portrait, which is represented by the smiley face icon. Enter the following slider adjustment values for each submenu item. Under Face AI, select Face Light: 16
- For Eyes, choose Iris Visibility: 80 > Iris Flare: 74 > Enlarge Eyes: 17 > Eye Whitening: 10 > Eye Enhancer: 20 > Dark Circles Removal: 29 > Improve Eyebrows: 20.
- Finally, select Skin AI, and then choose Amount: 38 > Shine Removal: 82.
- Then, click Apply to return to Photoshop. If you don’t have Photoshop, there will be options to export your image from the standalone version of Luminar AI.
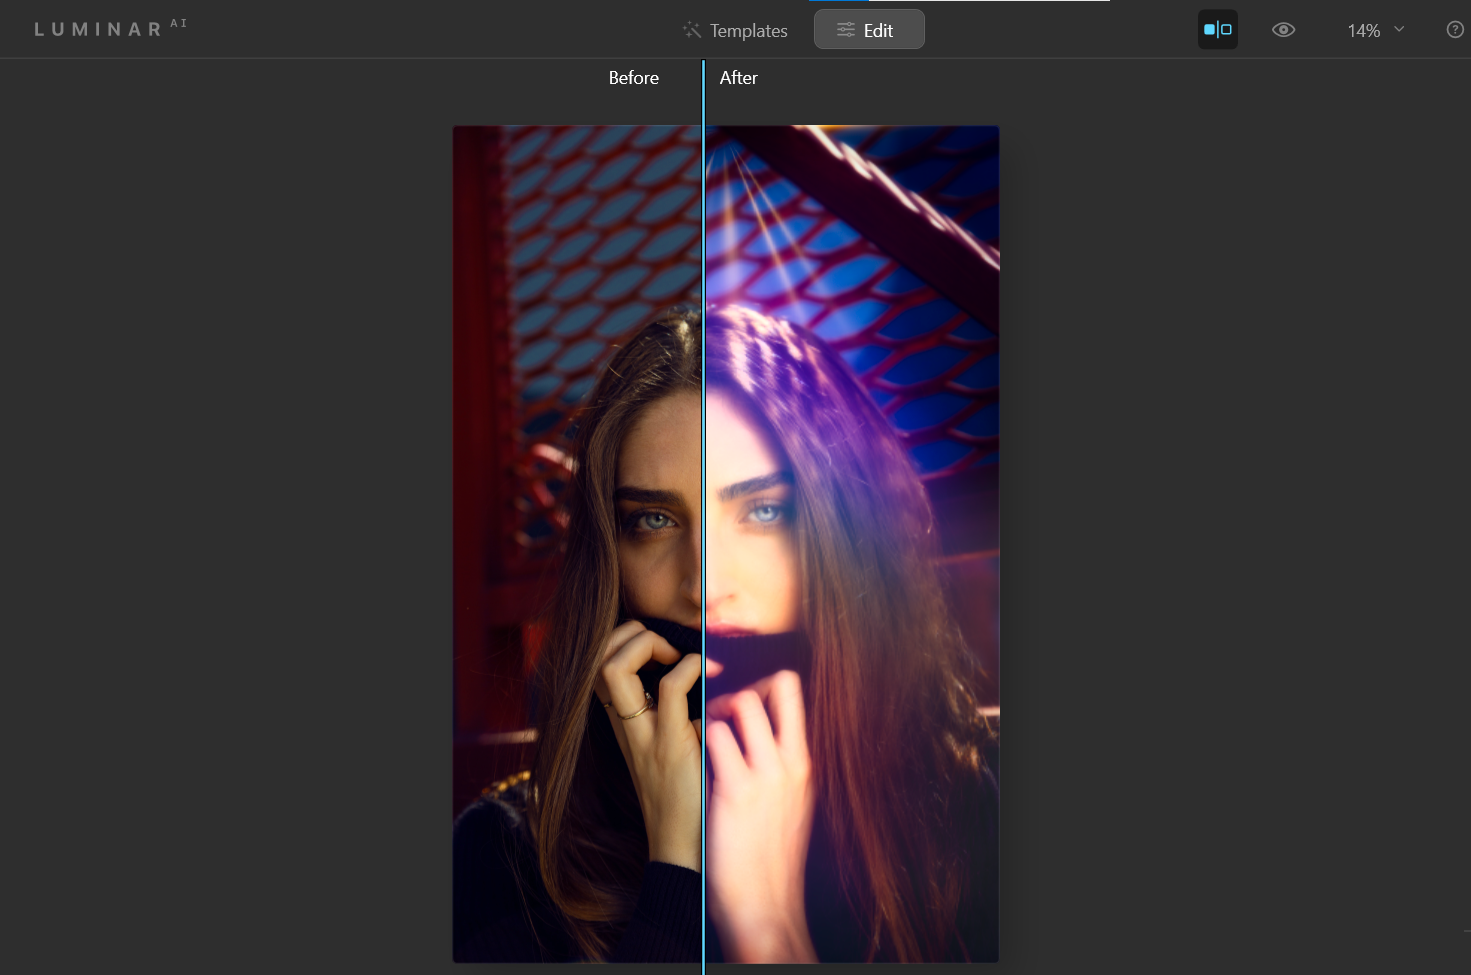
Remember that you can undo an action by pressing Ctrl + Z. Whenever you work with Luminar AI in Photoshop (or any other photo editing program that uses layers), be sure to create a duplicate layer or a Stamp Visible layer prior to running Luminar AI as a plugin. This will enable you to return and make edits later as needed.
Another Example Using the Glow Template
Templates are great places to begin editing your photos in Luminar AI. Here is another example where we used the Glow effect from the Experimental template, and then made additional changes in the Edit menus.
If you’d like to explore the sliders and controls in Edit mode with this image, you may download it from Unsplash.
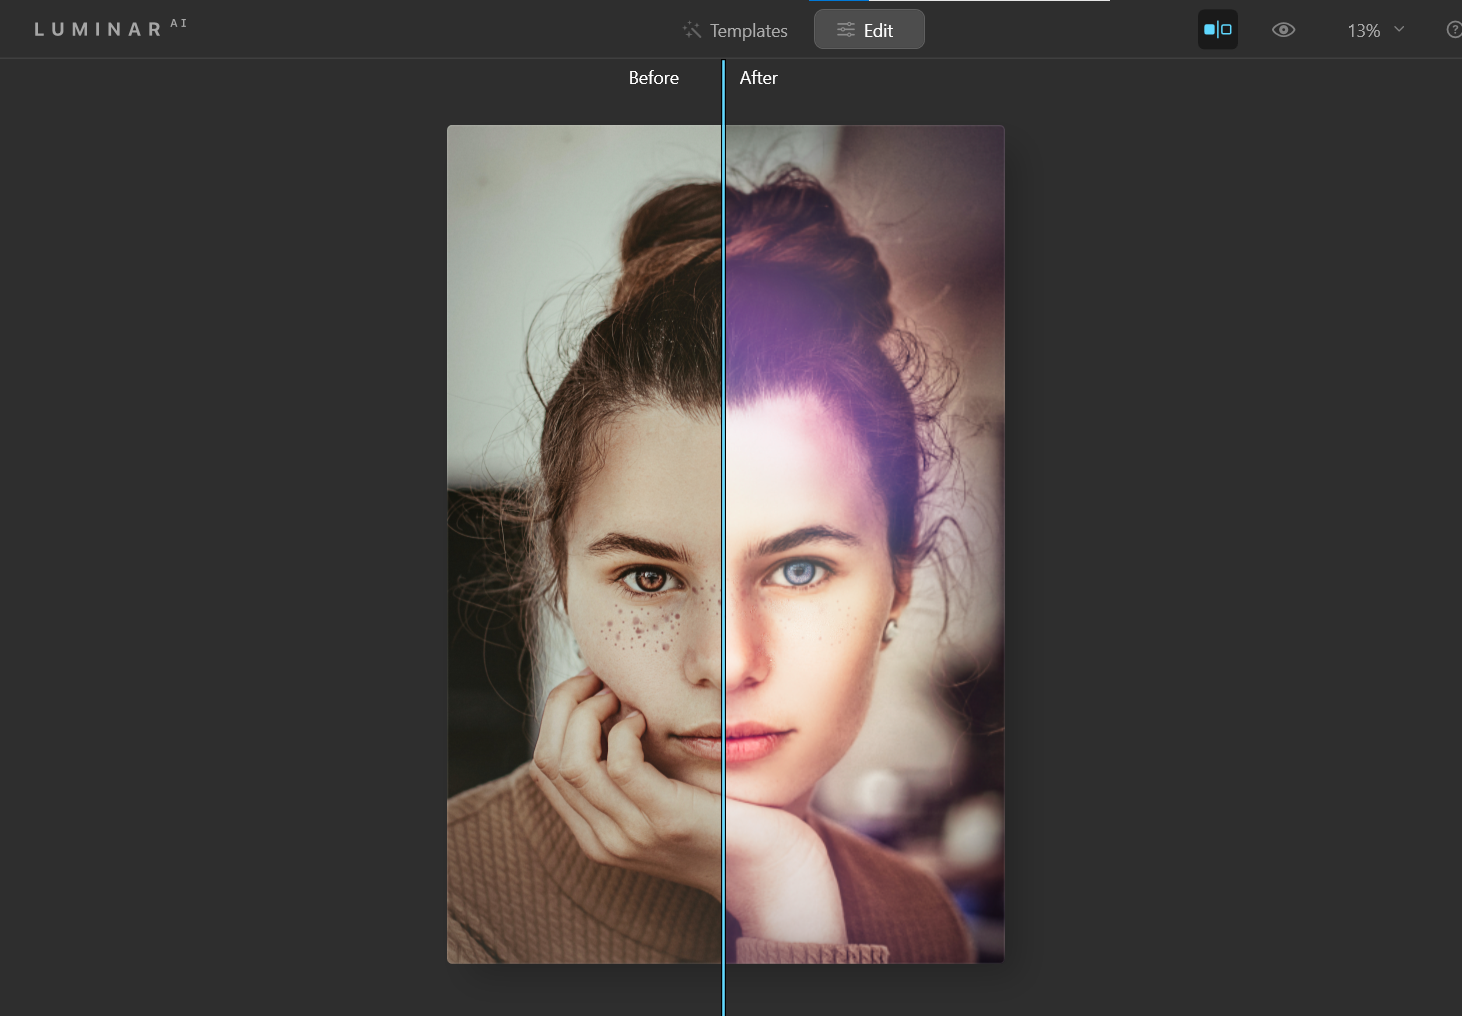
Some major changes that were made in the Edit menus were in Portrait using Face AI. You’ll notice that in addition to the Glow effect, the subject’s eye color has been changed from brown to blue.
Also, Skin AI was used to remove some of the subject’s freckles—not that there’s anything wrong with freckles!
Using Luminar AI to Enhance Boring Backgrounds
How many times have you looked at a selfie you took with friends or family, only to realize that you regret the boring or distracting background? Using the same workflow, you can choose an appealing template, and then make additional adjustments in Edit to save your photo.
Download this image from Unsplash to have a go at fixing the background.
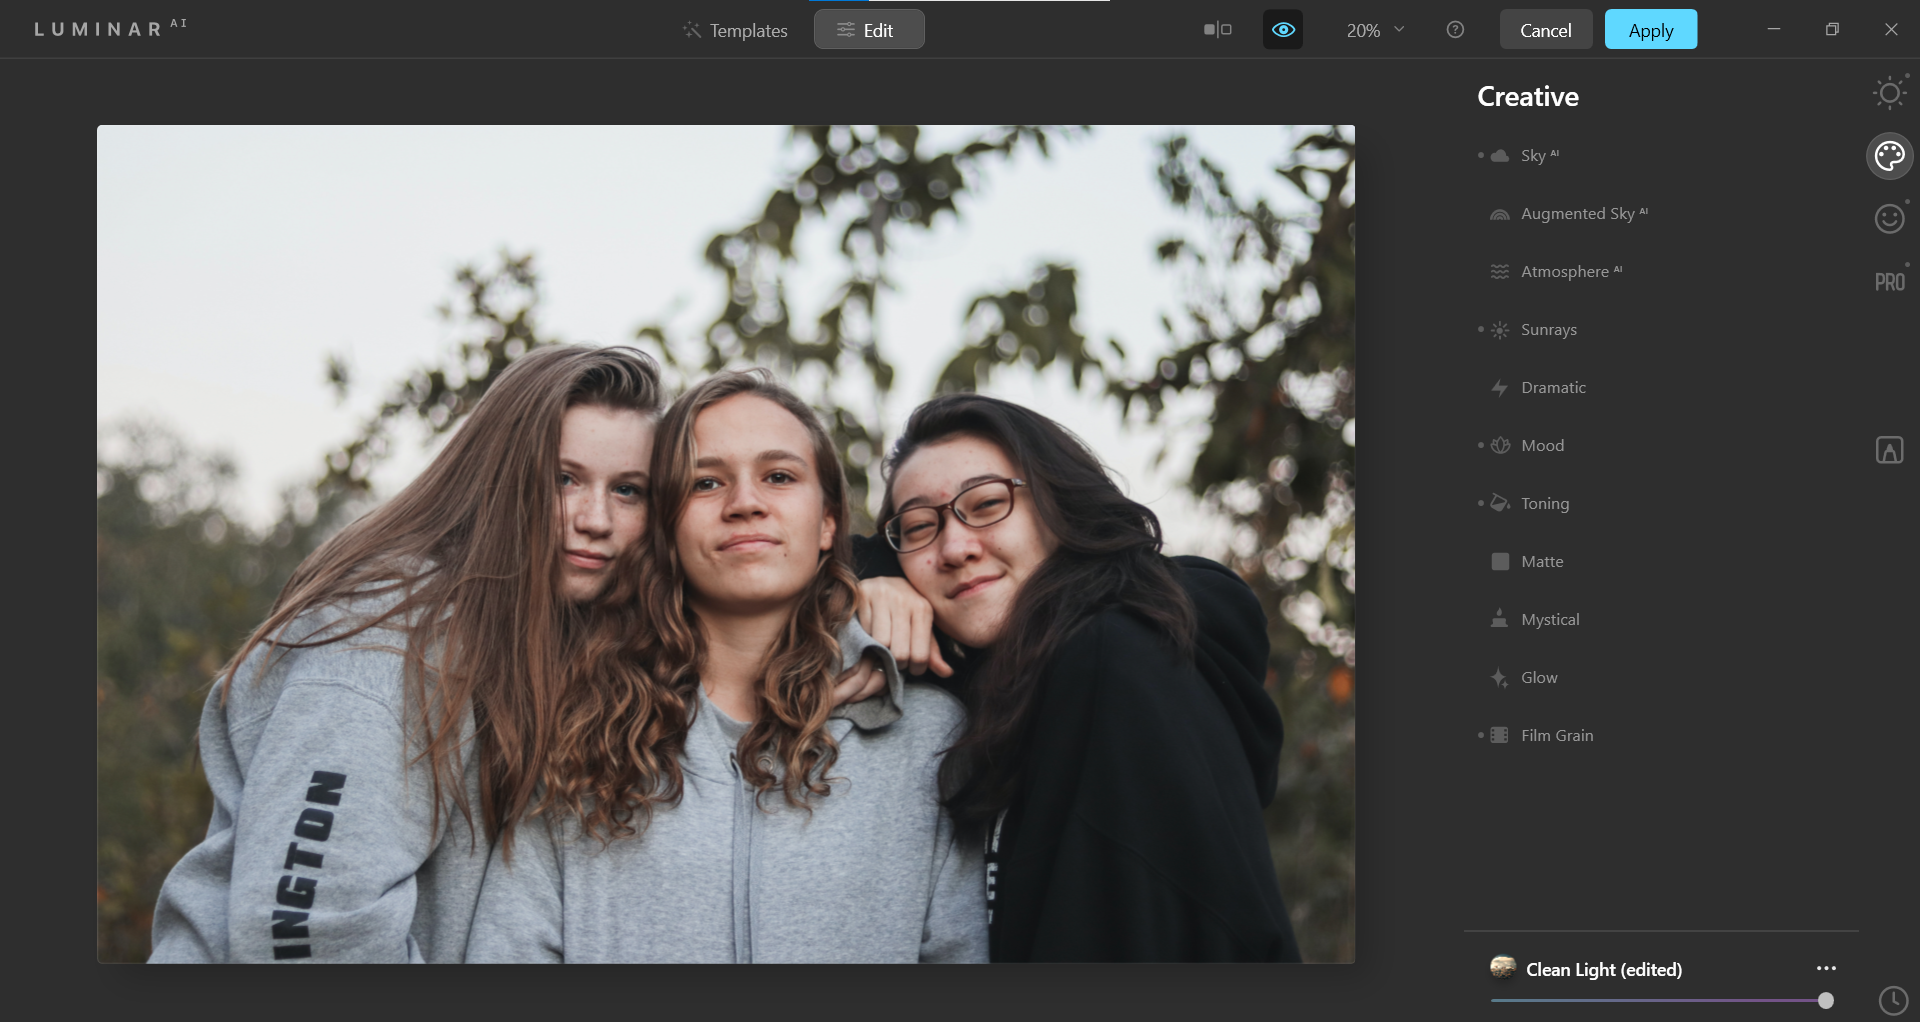
Here are the changes that we made. First, we used the Clean Light effect found in the Easy Landscapes Collection. Then, we went into the Edit menus to work on a new background look to reflect the mood in this selfie.
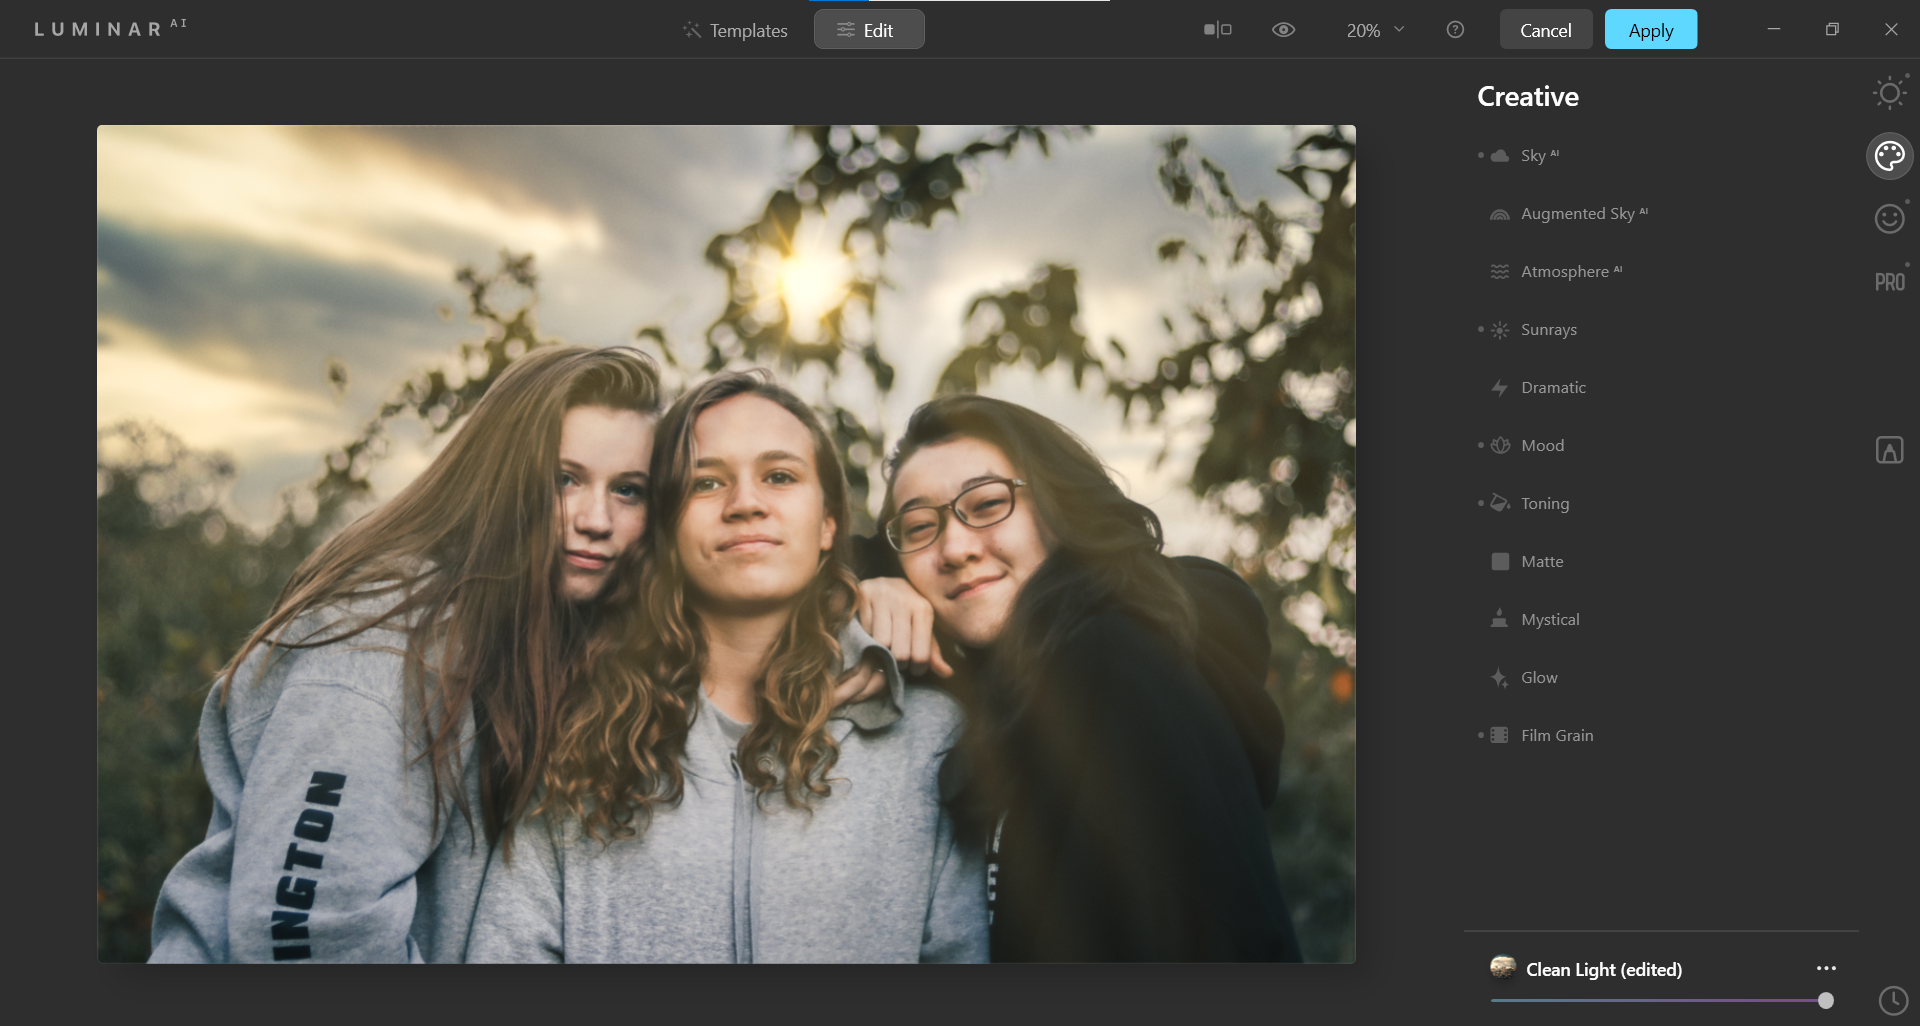
There are two main changes we made to this image. Both of these were made in the Creative menu. Sky AI was used to replace the sky.
Another important adjustment was made in Sky Defocus, which blurred the sky to match the blurred tree branches and leaves behind our subjects.
To top it off, we added a sun with rays in the Sunrays menu. The warmth was increased to make it look like a sunset.
Give Your Portraits a Surreal Effect
Sometimes, it’s possible to trick plugins into thinking that there’s something there when there clearly isn’t—like a sky. In this example, we trick Sky AI into thinking there’s a sky in an underwater environment.
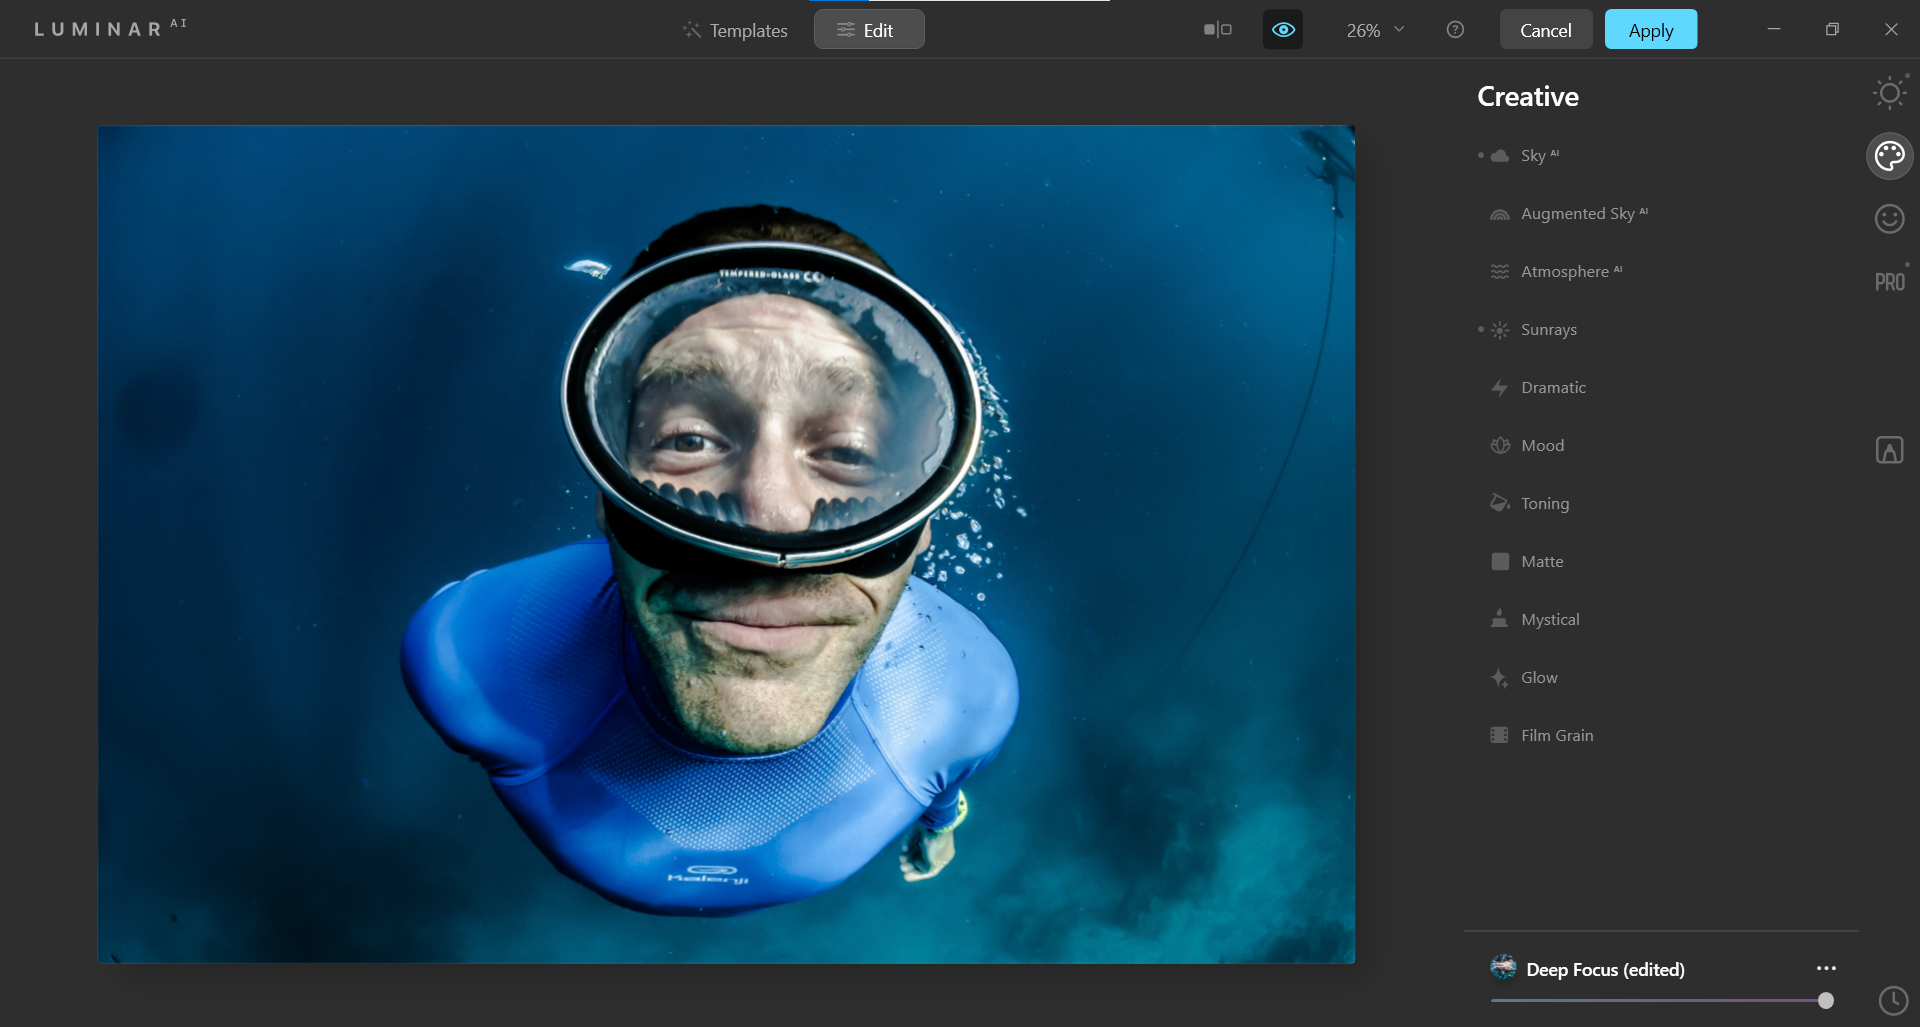
You may just want to download this image from Unsplash to have some fun trying out skies in the menus. There’s even an option to load your own skies into Sky AI.
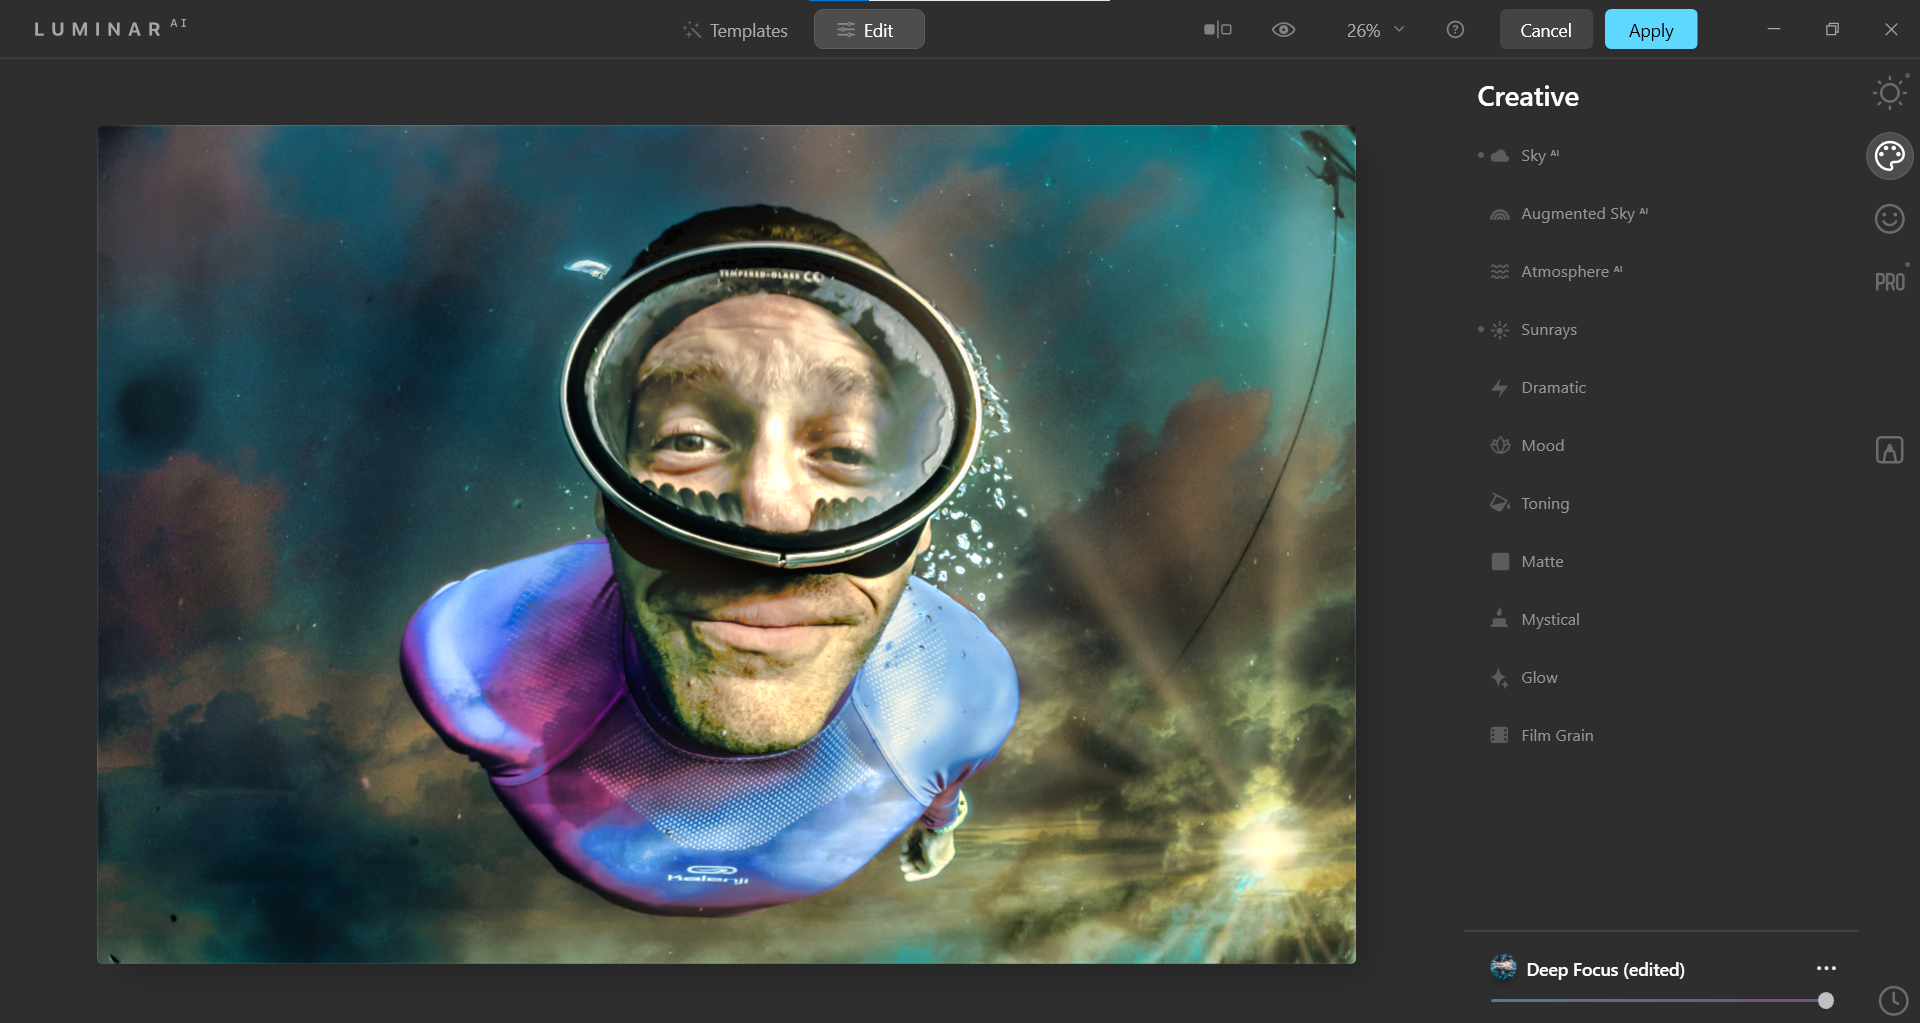
We used the Deep Focus effect located in the Waterscapes Collection in Templates. Just like in the previous examples, we inserted a sun with rays and swapped the sky out to create a surreal effect.
The Sky’s the Limit with Luminar AI
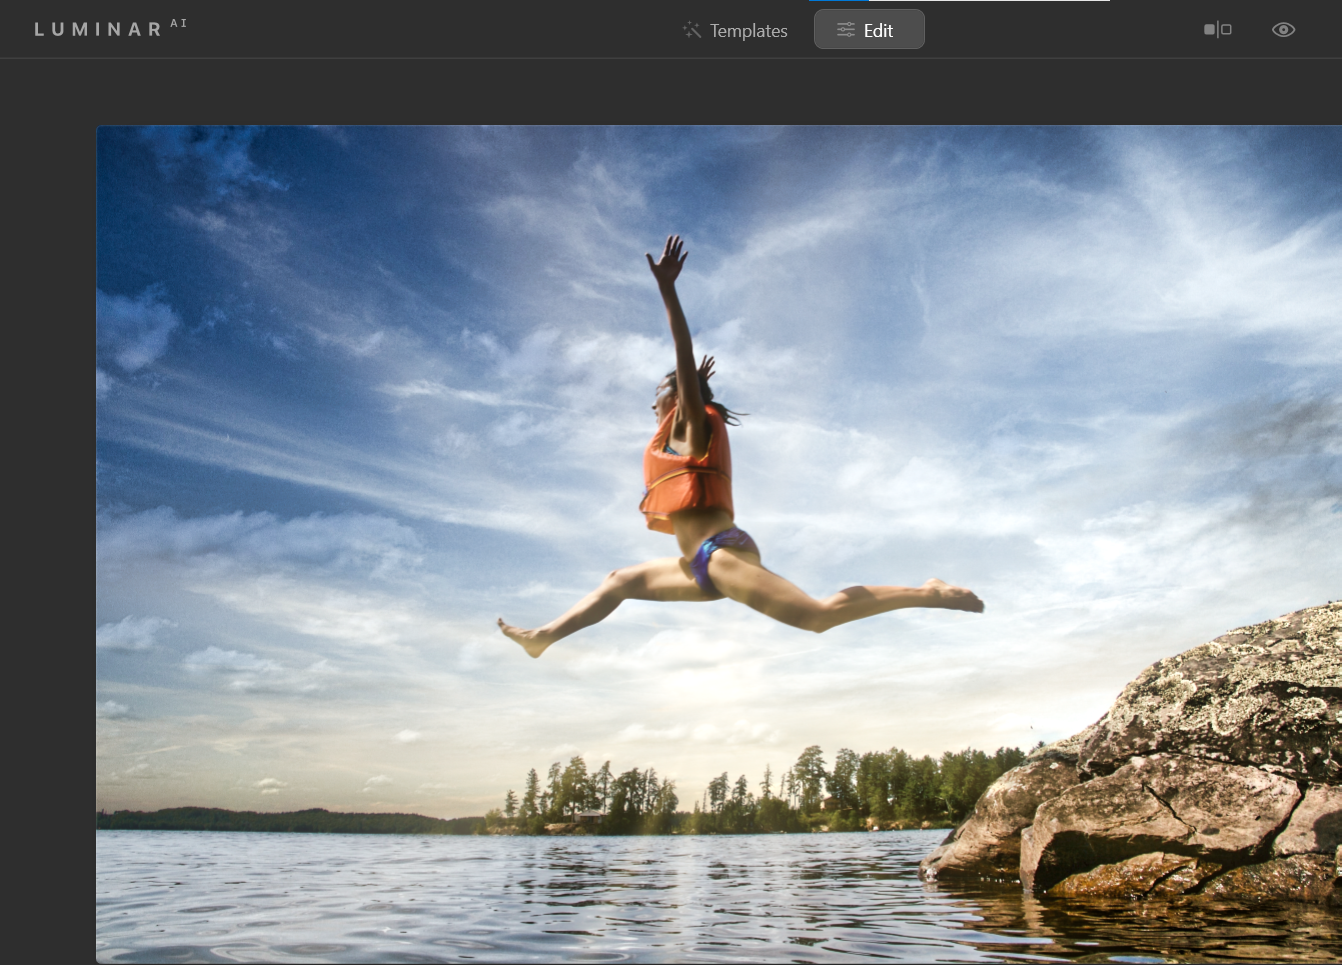
While Skylum’s Luminar AI doesn’t even have a small fraction of the photo editing options that Photoshop and other industry leaders have, it makes up for it by doing a few things very well.
For example, it uses artificial intelligence to enhance portraits and other images better than many of its competitors. More importantly, Luminar AI can do it faster.
Image Credit: Engin Akyurt/Unsplash

