Keeping your downloads folder organized can be a hassle, but there are a few automated ways to keep the mess under control. You can automatically delete files older than 30 days, and you can save files to specific folders based on file type. We’ll show you how to do the latter in this article.
How to Auto-Save File Types to Specific Folders
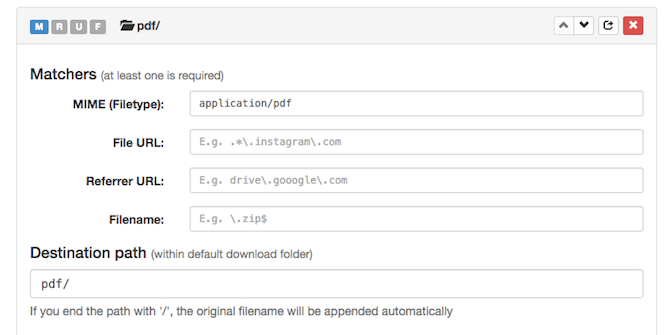
The Chrome extension RegExp Download Organizer allows you to create rules for downloaded file types. For example, every time you download a PDF, it will be automatically saved to a folder of your choice in the downloads folder.
You can also filter down to specific file types. For example, you can save all images to one folder, or you can create a separate folder for JPEGs, another for PNGs, etc. The Chrome extension comes with a couple of rules already created: one for images and one for torrents.

Let’s say you want to create a new rule for PDFs, enter the following:
- For MIME (Filetype), enter application/pdf.
- For Destination Path, select pdf/ (or the folder name of your choice).
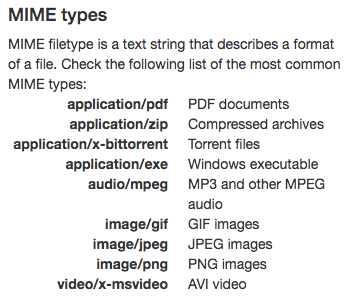
The extension includes a list of rules you can use for various file types, including compressed files (ZIP), Windows executable files (EXE), audio files, and video files.

As you can see from the screenshot above, you can also create rules based on specific URLs and file names.
How to Add “Save In” Folders to the Right-Click Menu
If you would rather add specific locations you can choose from as you save the file, there is an extension available that does that.
The Save In extension (Chrome, Firefox) requires extensive permissions when installing, including the ability to read and change all data on websites you visit. By way of contrast, the aforementioned RegExp Download Organizer extension only requires permission to manage your downloads.
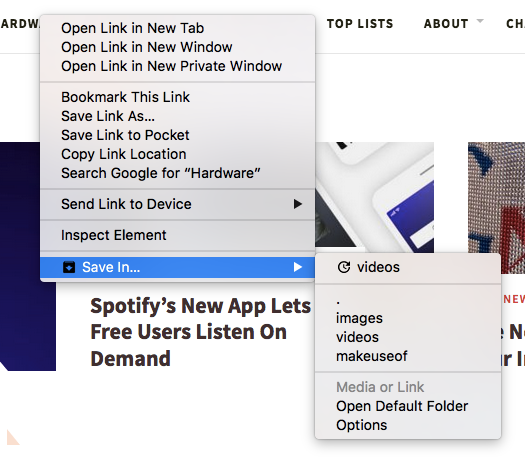
If you decide Save In is right for you, once you’ve installed the extension, when you right-click a link or file in your browser, you’ll now see Save in in your context menu, with two folder options already listed: images and video. If you save a file to these locations, your browser will automatically create those subfolders in your Downloads folder if they don’t exist.
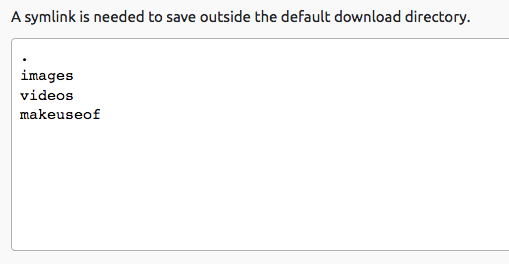
To add or modify the locations on that list, open the extension options in your browser and just add them to the existing list:

When you right-click a file, those locations will now be available in your context menu:

If you want to select a folder that isn’t in the downloads folder, it gets a little more complicated and will require you to create a symbolic link. If that seems too complicated for you and you really want to save your files to folders that aren’t in the downloads folder, there is one more option to consider:
Mac users can automatically move files to and from specific folders using automated rules with Hazel or Mac’s Automator, while Windows users can give QuickMove a try.


